Countries
Netherlands
Germany (Print)
Germany (Label)
United Kingdom
Spain
Bulgaria
Japan (Label)
Japan (Pack)
Philippines
Australia
New Zealand
Mexico
Languages
English
Print Portals
Axalta
QBE
Yokohama
Home
All products
Business Cards
Flyers
Flyers
Trifolds
Posters
Postcards
Stationery
Letterhead
Notebooks
Stickers
Banners
Pull Up Banners
Banners
Yard Signs
Contact
Sign in
Sign in
/
Register
Countries
Netherlands
Germany (Print)
Germany (Label)
United Kingdom
Spain
Bulgaria
Japan (Label)
Japan (Pack)
Philippines
Australia
New Zealand
Mexico
Languages
English
Print Portals
Axalta
QBE
Yokohama
Menu
Toggle navigation
All products
Business Cards
Flyers
Flyers
Trifolds
Posters
Postcards
See all products
Stationery
Letterhead
Notebooks
See all products
Stickers
Banners
Pull Up Banners
Banners
Yard Signs
See all products
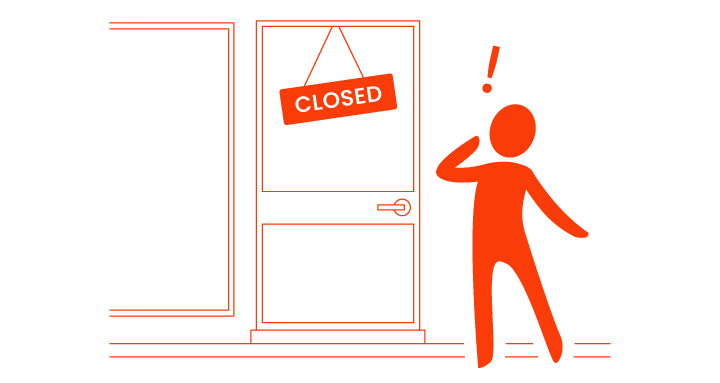
This store is permanently closed...
We apologize for any inconvenience this may cause.